Basic user interface primer
Welcome to the Ensemble content management system, powered by the Adobe Experience Manager. This training section intends to show how you can use the CMS to manage the content of your Virginia Tech website.
Before starting, there are a few concepts to cover.
User(you) and Audience(content consumer): You may see and hear the term "user" in this documentation and during workshops or other asycnchronous training referring to the person building pages and publishing other content via Virginia Tech systems. The person this documentation is for is the user of Ensemble. You may see and hear the term "audience" in this documentation and during workshops or other asycnchronous training referring to the people who view the pages and assets in the Ensemble published pages for a website. These people are prospective and current students, current employees of the university, alumni, industry and research partners, and a host of others that consume stories and information about the university, and interact with our systems to make tour and other admissions reservations, to access grades and transcripts, and to pay bills and make donations. The person who views and interacts with your web content is the audience.
Click and drag: Ensemble uses the click and drag function, also called drag and drop, a lot. As you’ll see, clicking and dragging is how you move assets from the side panel to the page.
Icons: Ensemble uses a library of icons to aid with creating content, moving items through the workflow, and moving around the system. Explanations of what the icons represent are made throughout this site. You can also mouse over the icon to see what it represents.
New tabs/windows: Once pages are created, they’ll open in a new window or tab of your browser. You can always get back to the main file listing interface called "Admin view" by clicking on the tab or window where it’s open.
Themes: Ensemble uses the "One" responsive theme: it conforms to the updated university brand. It features consistent university navigation, an eyebrow, a white header, and a black university footer. Authorized colleges may also create magazine content in magazine templates.
No save buttons: Pages are saved once they are created and as changes are made. There’s no save button, though you should click the check icon (![]() ) after editing. You'll also need to leave HTML editing to save content.
) after editing. You'll also need to leave HTML editing to save content.
WYSIWYG page creation: You’ll build your page as it will look once published. There are ways to access the HTML code within a particular component. These training documents will cover those specific areas when applicable.
Everything is built as a page: Briefs or snippets of content need to be built as full pages within Ensemble although these pages can be hidden from navigation. The Reference component can be used to place pieces of content from one page onto another page so that the same content can exist in multiple places but only need to be updated once.
Browser requirements: This CMS can be accessed using Chrome, Firefox, Edge, or Safari. The operating system can either be Windows PC or macOS. Windows users will need to configure their browser to avoid UI collapse. Pre-launch stage sites only show images consistently in Firefox or Safari.
Ensemble uses the touch-based interface that Adobe launched with version 6 of Adobe Experience Manager.
After logging in, your screen will look something like the image below:
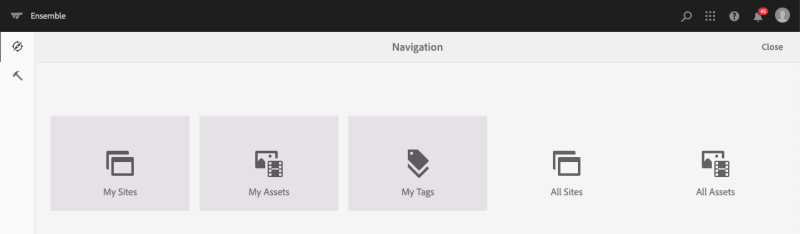

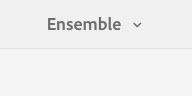
Access the Ensemble navigation menu.

Search within Ensemble for pages and assets.

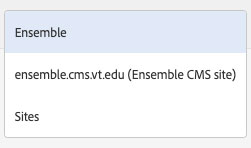
Solutions button to disclose the Solutions menu, which includes the Ensemble CMS, Ensemble Group management, and the Adobe Campaign bulk email service.


Ensemble help menu.


Ensemble notification inbox.

Ensemble user profile and sign out.


My Sites: These are sites that you can access for content creation, editing, or publishing (depending on your role). Each site will appear in the main window.
My Assets: These are images and files (PDF, Word Documents, spreadsheets, etc) that can be uploaded and placed within a page. See the process Learn about Ensemble->Adding assets for more info.

My Tags: Tags let you categorize content for display. Tags can be created for topics, keywords, areas of research, or associated with a faculty, researcher, or staff member within your college or department. See the process Learn about Ensemble->Tags for more info.
All Sites: All sites within Ensemble are accessible from the Sites menu. Only those with access to a particular site can create content or edit within them. Users without access will be able to preview the site but not edit or change content.
All Assets: All assets within Ensemble are accessible from the Assets menu. Users without permission can only preview the asset. They cannot edit, upload or publish assets.
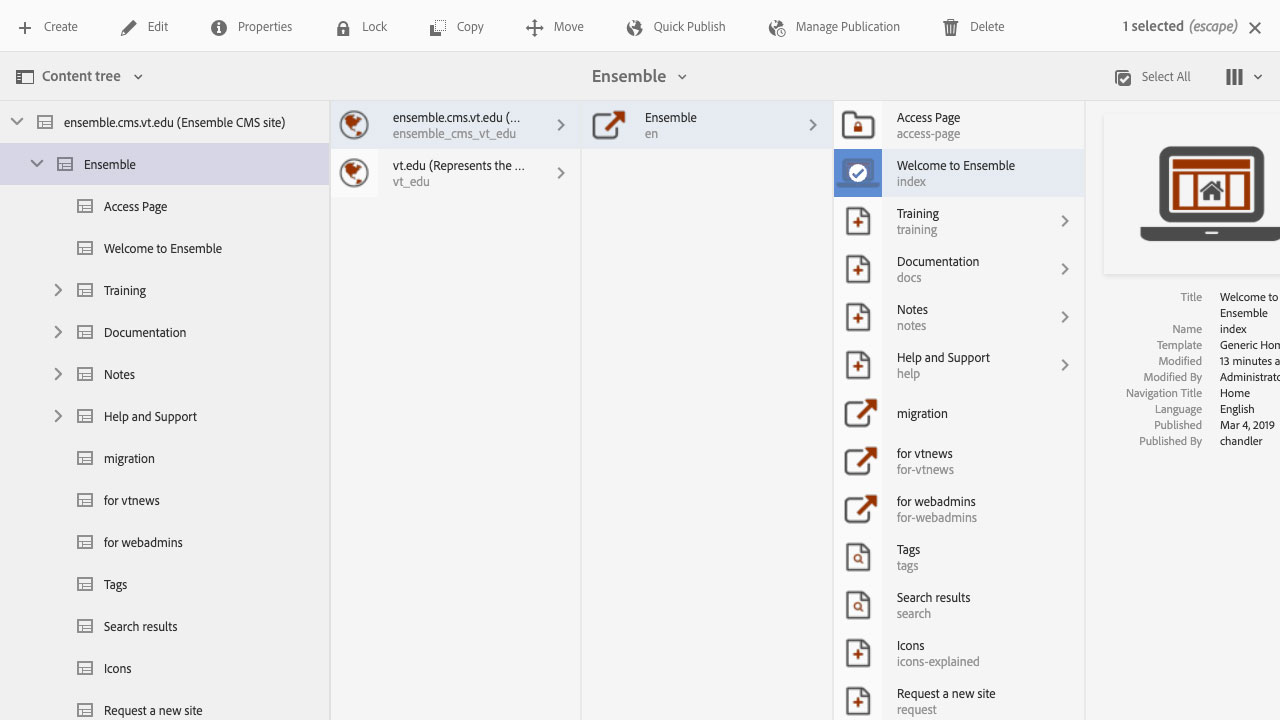
There are two Action menus while navigating to and selecting items in the My Sites interface.
Navigating to an item
The navigation menu is basically the same between all areas; sites, assets, and tags. The create functions vary, but all other behaviors and choices are the same.

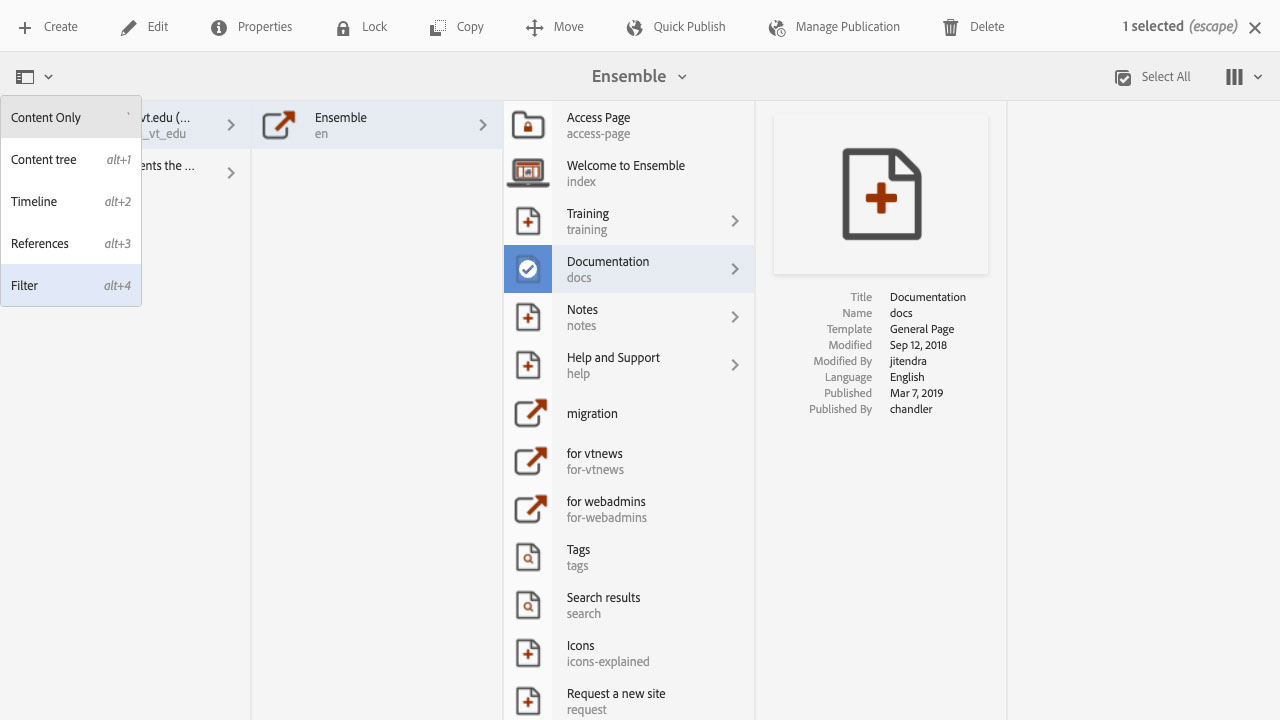
Content sidebar selector
Options:
- Content Only (default)
- Content tree
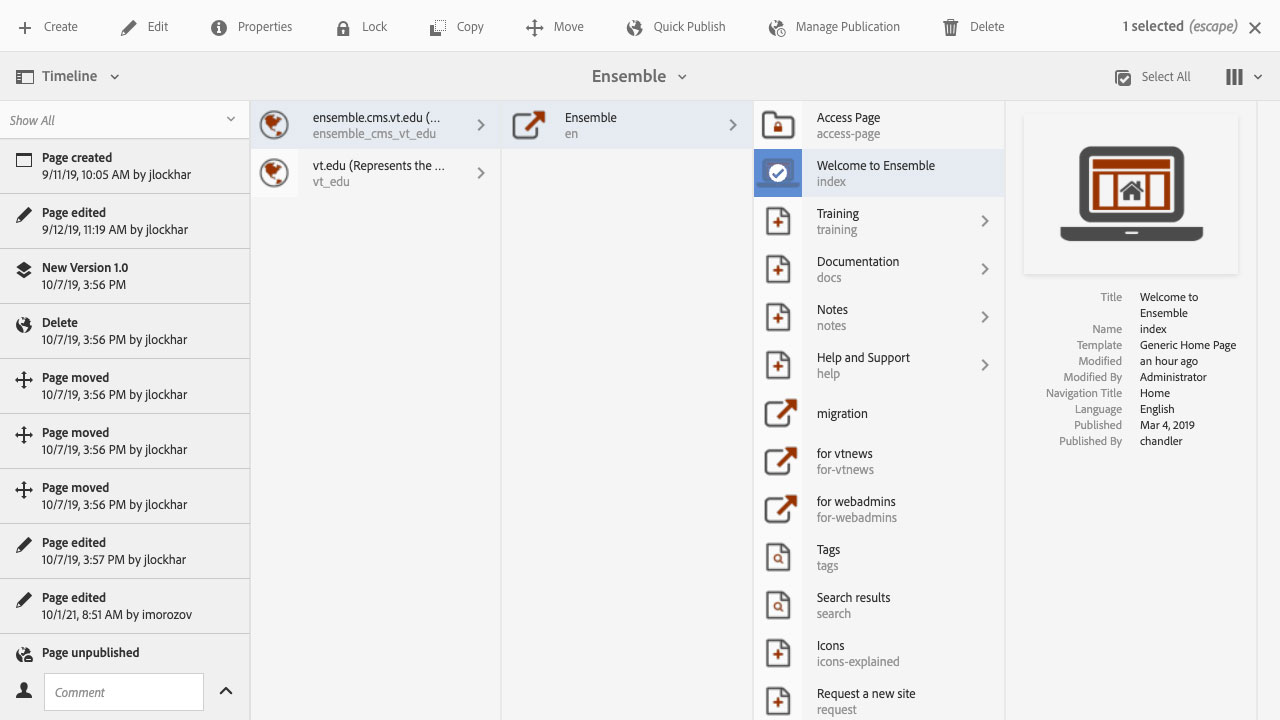
- Timeline
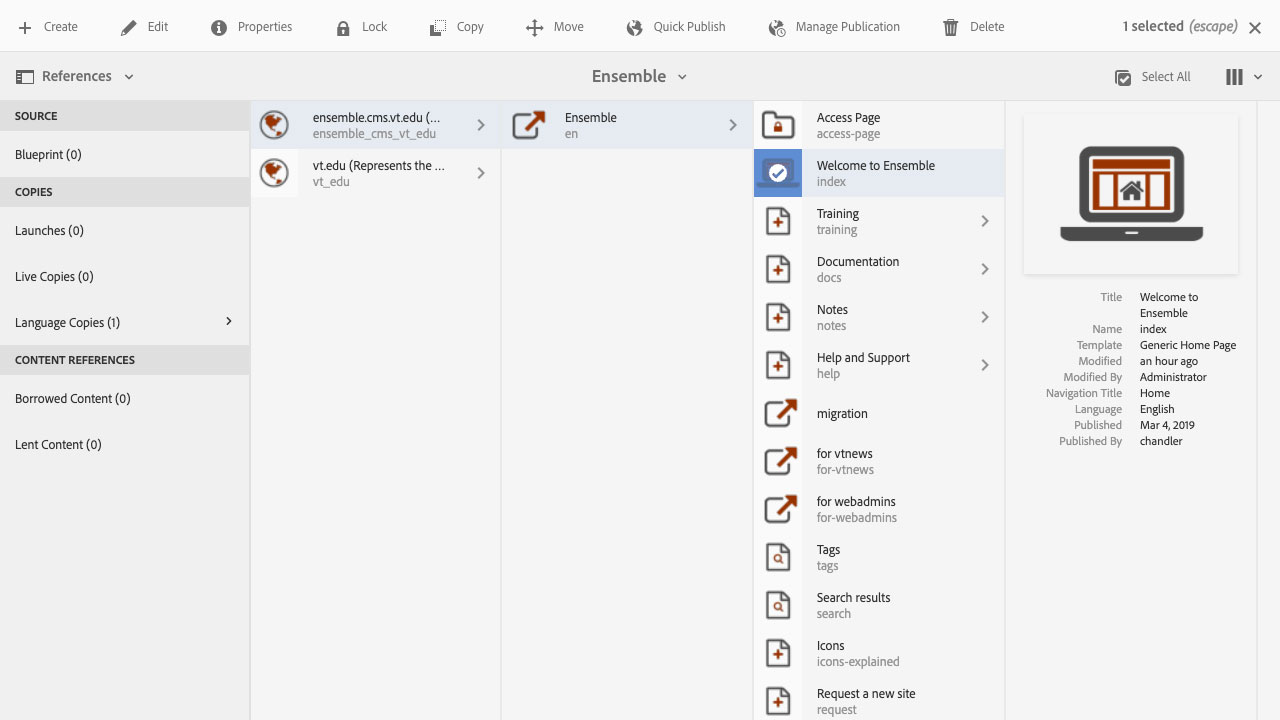
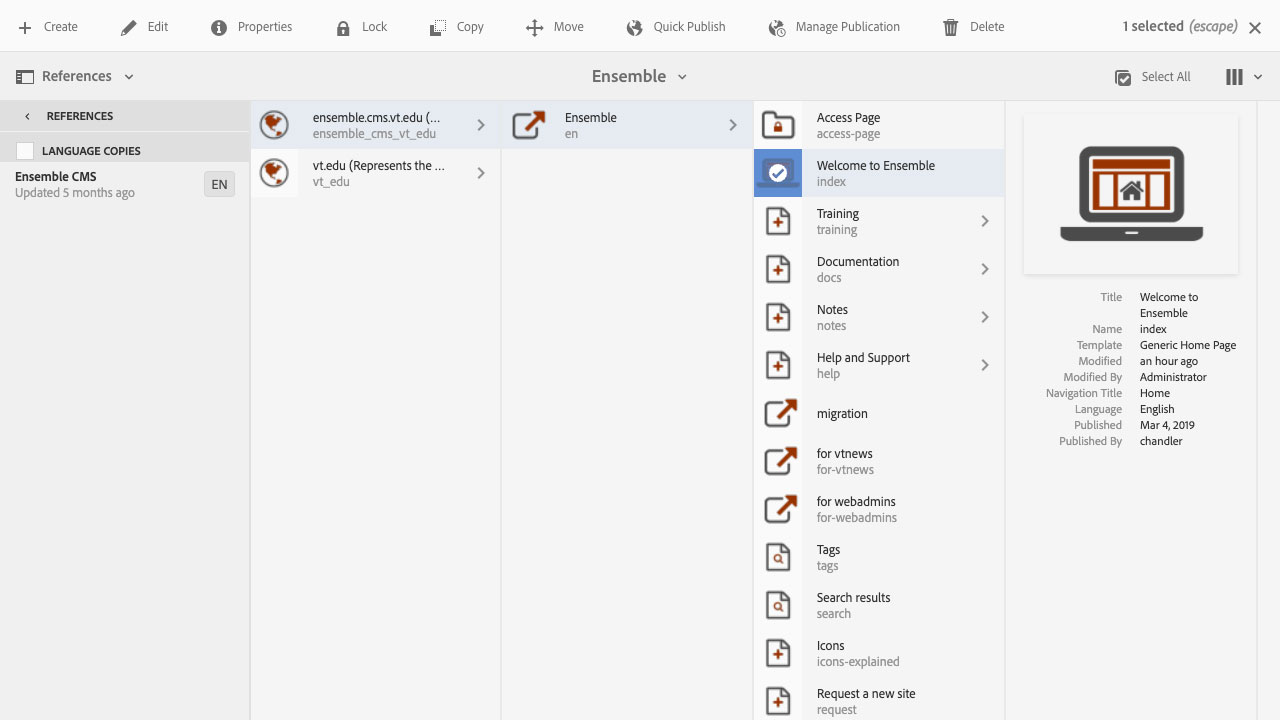
- References
- Filter
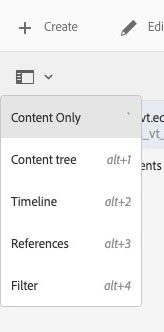
Content tree: Display a content tree for a site within the left-most column of the content display.
Timeline: Display a timeline of page or asset modifications and publish events. Use the New Version items to revert a page to a previously published version of the page.
References: Display a summary of any references within Ensemble to the selected page or asset. Select specific references from the summary to display more details, e.g., 'en' language page reference to a site index page.
Filter: Open a search qand use selected item path as a filter in a search query.
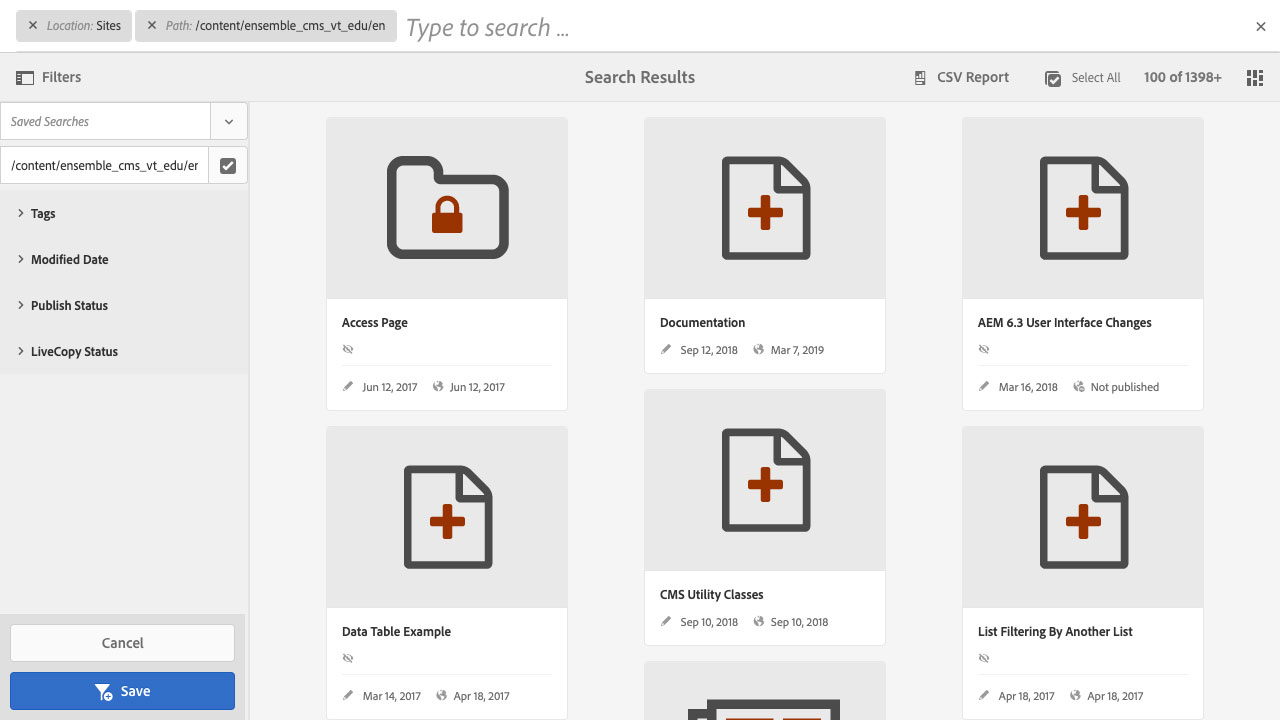
Current path
Displays the current parent folder and when clicked will allow the user to select a working path from the ancesters of the current path.
Select all
Select all items in the current parent folder. Hitting the "Esc" key will unselect any items.

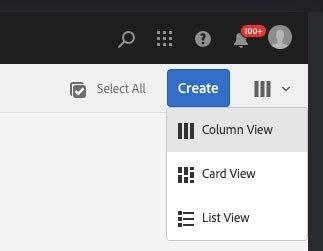
Create button
Create pages, folders, workflows, and launches.

Content display options
Choose between column, list, and card display options. Each one has its own features used to set content menu order and how item actions are applied.
Selecting an item
This set of selected item actions apply to pages. There is a larger set of actions for assets.

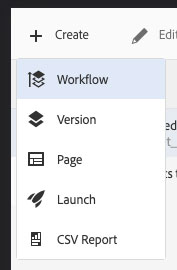
Create: Create a workflow for the selected page, create a new version within the timeline for the selected page, create a new child page for the selected page, create a new Launch for the selected page, create a CSV report for the selected page or other path.
Edit: Open the selected page for editing.
NOTE: If you have more than one page selected, it will only open the top-most of those selected, not all of them.

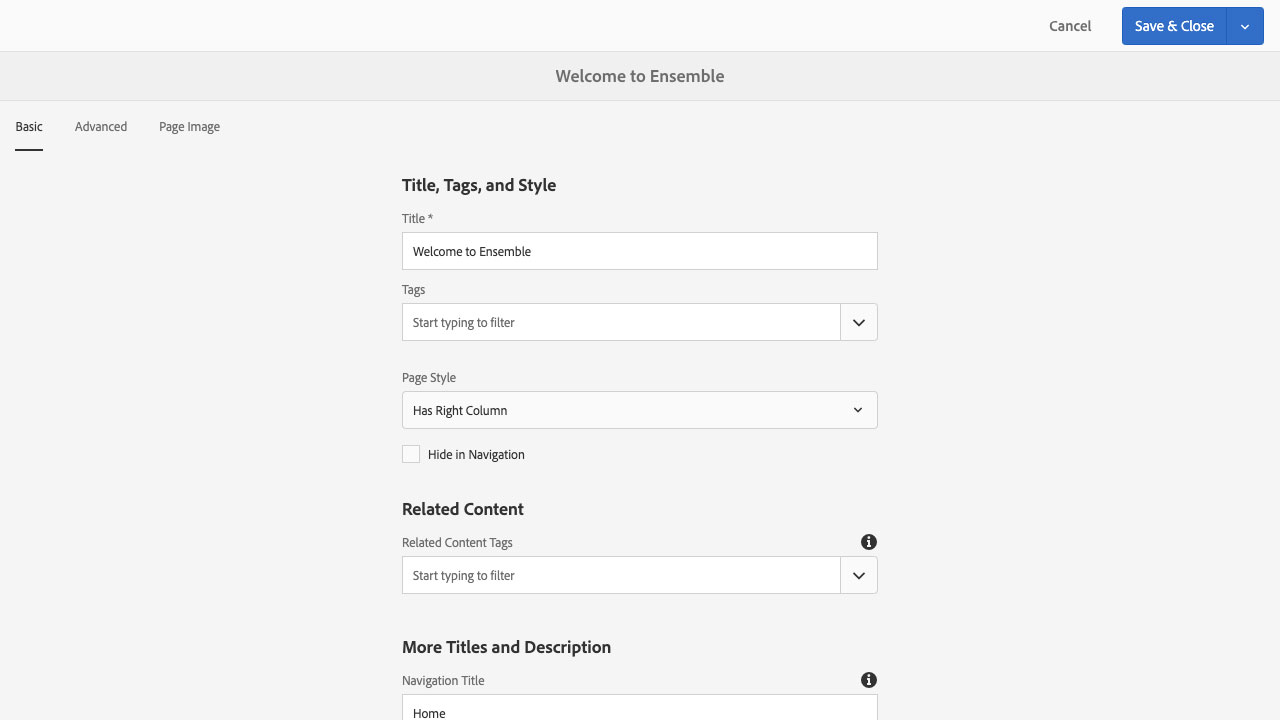
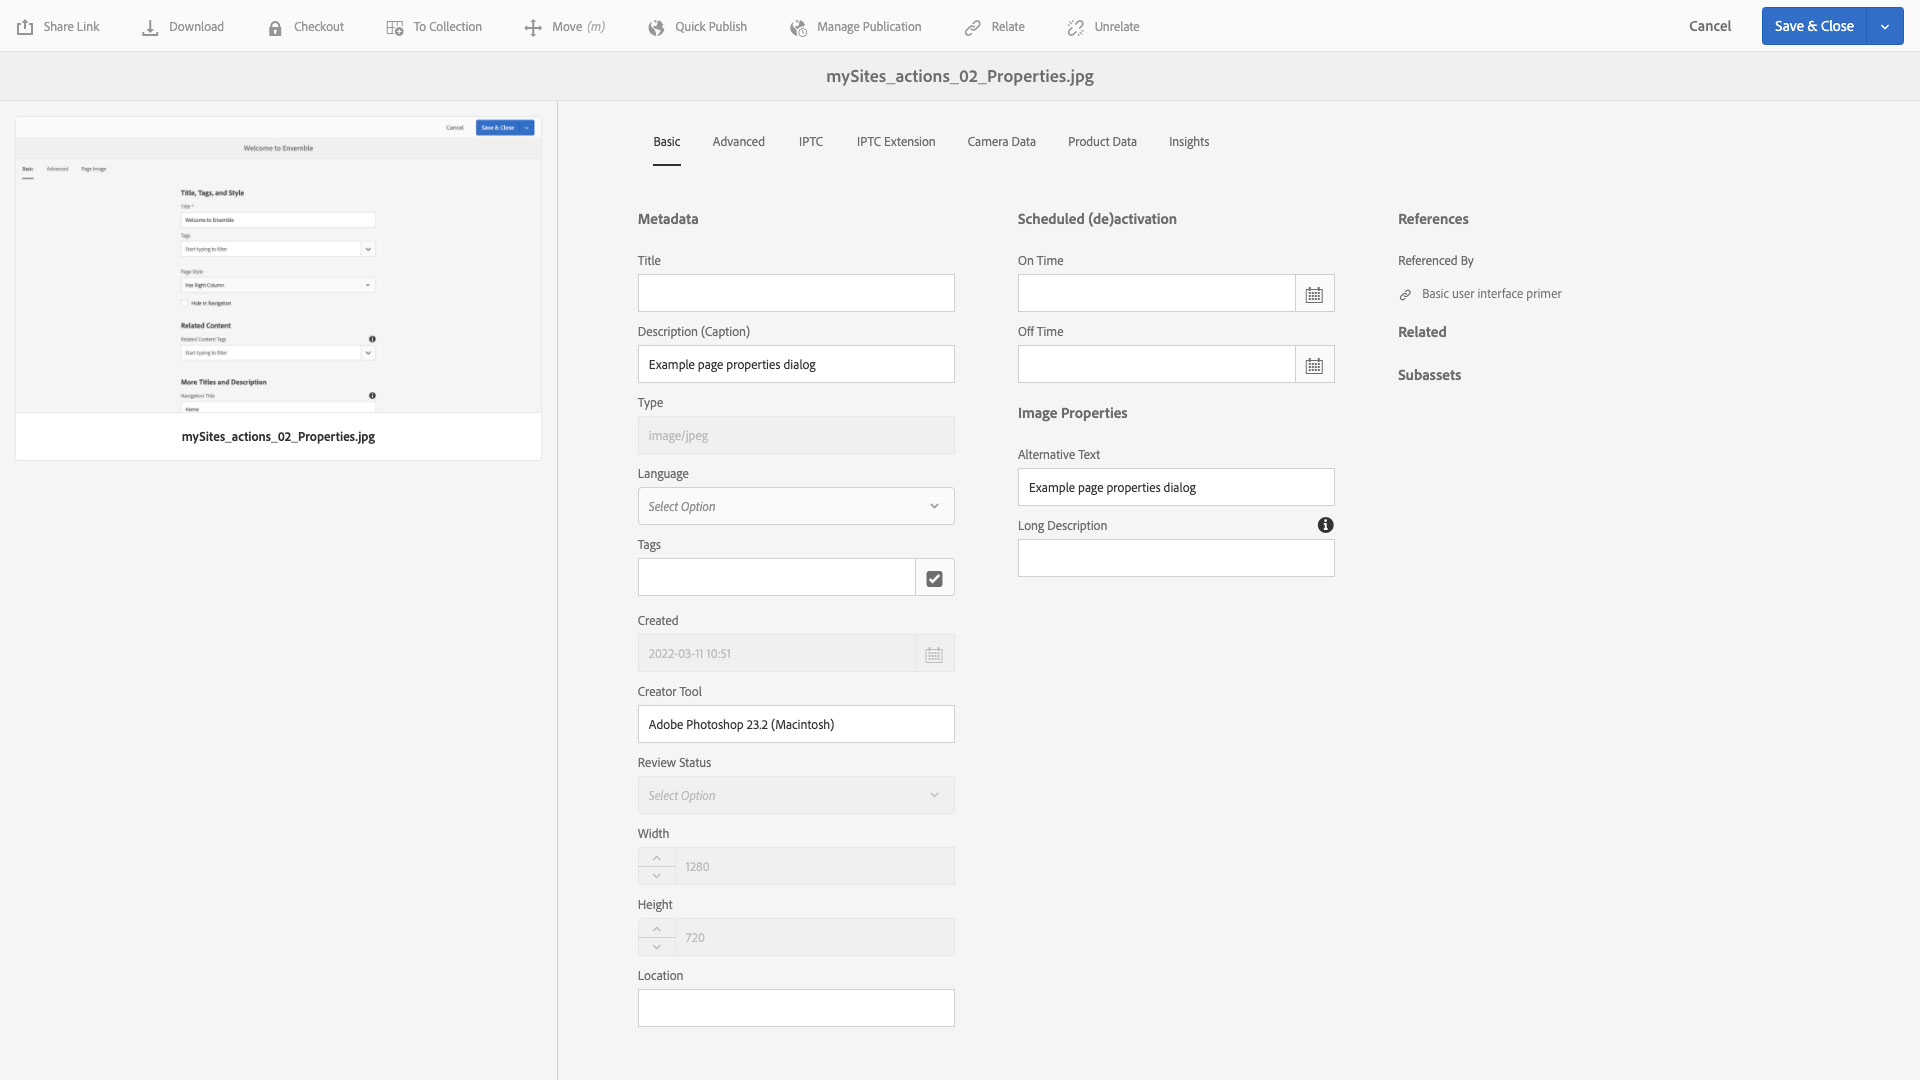
Properties: Open the page properties for the selected page.
NOTE: If you have more than one page selected, it will only open the properties for the top-most of those selected, not all of them.

Lock/Unlock: Prevent other users from making changes to the page. The user who locks the page will be able to edit the page, but no one else will until the page is unlocked by that user or by a web_admin for the site.

Copy/Paste: Copy and paste selected pages. Will also copy child pages. Pasted pages are unpublished.


Move: Used to move pages so references are automatically updated. Used to rename pages to affect a page URL and update all references to the page. Move will republish the page being moved and any referencing pages in other locations throughout the CMS, not just the site(s) users may have access to.

Quick Publish: Publish the selected pages now. Pages are sent to the publish queue and new content should appear within 15 minutes. This may be longer due to publisher load or the site being hosted through a cloud provider.

Manage Publication: Used to publish and unpublish pages. Actions can be scheduled to happen now or at a set time in the future.
NOTE: Publish later varies from setting an on-time in that changes to the page between when the publish later workflow was initiated and when the page is published are ignored/overwritten with the content from the time the workflow was initiated. With the on-time set in page properties, any changes made before the on-time and after another publish request are honored when the on-time publish happens.


Delete: Delete selected pages.
NOTE: Pages can be restored, but you will need to submit a support request with the page path and what version you would like restored.

Paths, Pages, and Inheritance
When referencing pages and assets within the My Sites and My Assets interfaces, the paths to the items will be /content/site_vt_edu/en/ for pages or /content/dam/site_vt_edu/ for assets. Use these in link and path fields within page and component dialogs.
NOTE: You can also use the absolute links as well, https://site.vt.edu/ followed by the relative paths from the starting points above, e.g., https://vt.edu/about.html for a page at /content/vt_edu/en/about.html or https://vt.edu/about/traditions.pdf for a PDF in the "about" folder at /content/dam/vt_edu/about/traditions.pdf.
Within the My Sites interface, all pages are also folders. This is a foreign concept for computer users to process, as we are accustomed to a folder and file based system to manage data. The Adobe Experience Manager system that powers Ensemble is the reason for this. The system applies a tree structure to every "node" of content. Since pages are nodes within the /content/site_vt_edu/... tree structure, they can also be used as branches by attaching child nodes or pages to them. This is why using the Column View in My Sites and My Tags works best for most tasks. This display option best visualizes the structure of the site. To manipulate that structure-specifically the order of pages within the site navigation-List View is needed.
Inheritance of items is done from parent page to all descendant pages. There are two inherited areas in most active site Design themes. The Right Column Briefs and Footer Components drop zones on the 'en' language page of every site are the primary inheritance for site-wide items you want to appear in the right column and/or footer of every page on a site. These are often used for custom widgets, custom CSS, individualized footer for a site, or site-wide announcements for pages with right columns.
There are "Inherited Paragraph System" blocks on pages that will display and be used to control the display of inherited items. By clicking on one of these blocks you can affect the inherited items to that page and all its descendants. The 'Drop Components Here" block immediately above the Inherited Paragraph System block is used to display things on the active page being edited and all its descendant pages. Meaning, content can be added and subtracted from the inherited depending on its relationship to the pages around it in the content tree. You cannot individually pick content, it's an all from above or nothing, and it's all I put here or nothing to the descendants.
Navigating to an asset item
There are common actions to the My Sites navigationmenu. The create button is the only real difference. It has different options.
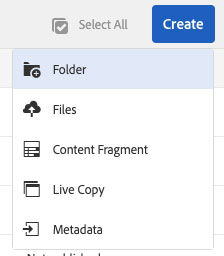
Create button
Create folders, upload files, create content fragments, live copies, and asset metadata.
Selecting an asset item

There are common actions to the My Assets selected item menu. Copy/Paste, Move, Quick Publish, Manage Publication, and Delete all work the same. Deleted assets cannot be restored like their page node cousins.
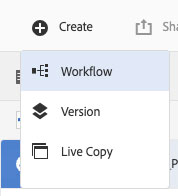
Create: For selected assets, create a workflow, create a version in the timeline, or create a live copy of an asset.
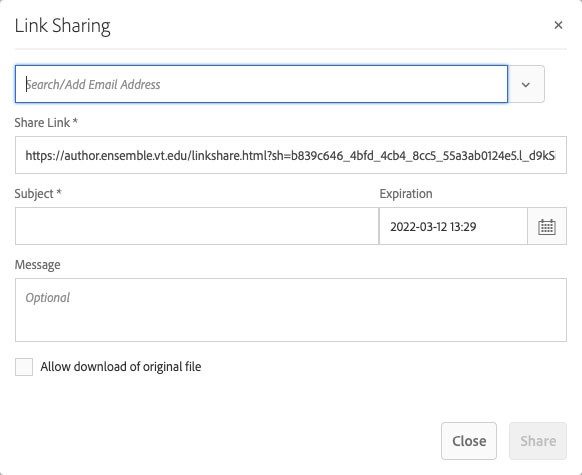
Share Link: Share a link to an asset via email.
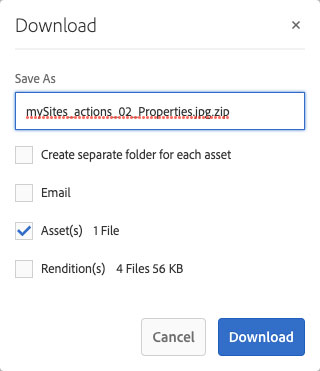
Download: Download a compressed archive (.zip) file with selected assets.
Checkout/Checkin: Checkout and lock an asset from other users making changes until checked back in.

Properties: Asset properties. Most important are Title and Alternative text for image assets.
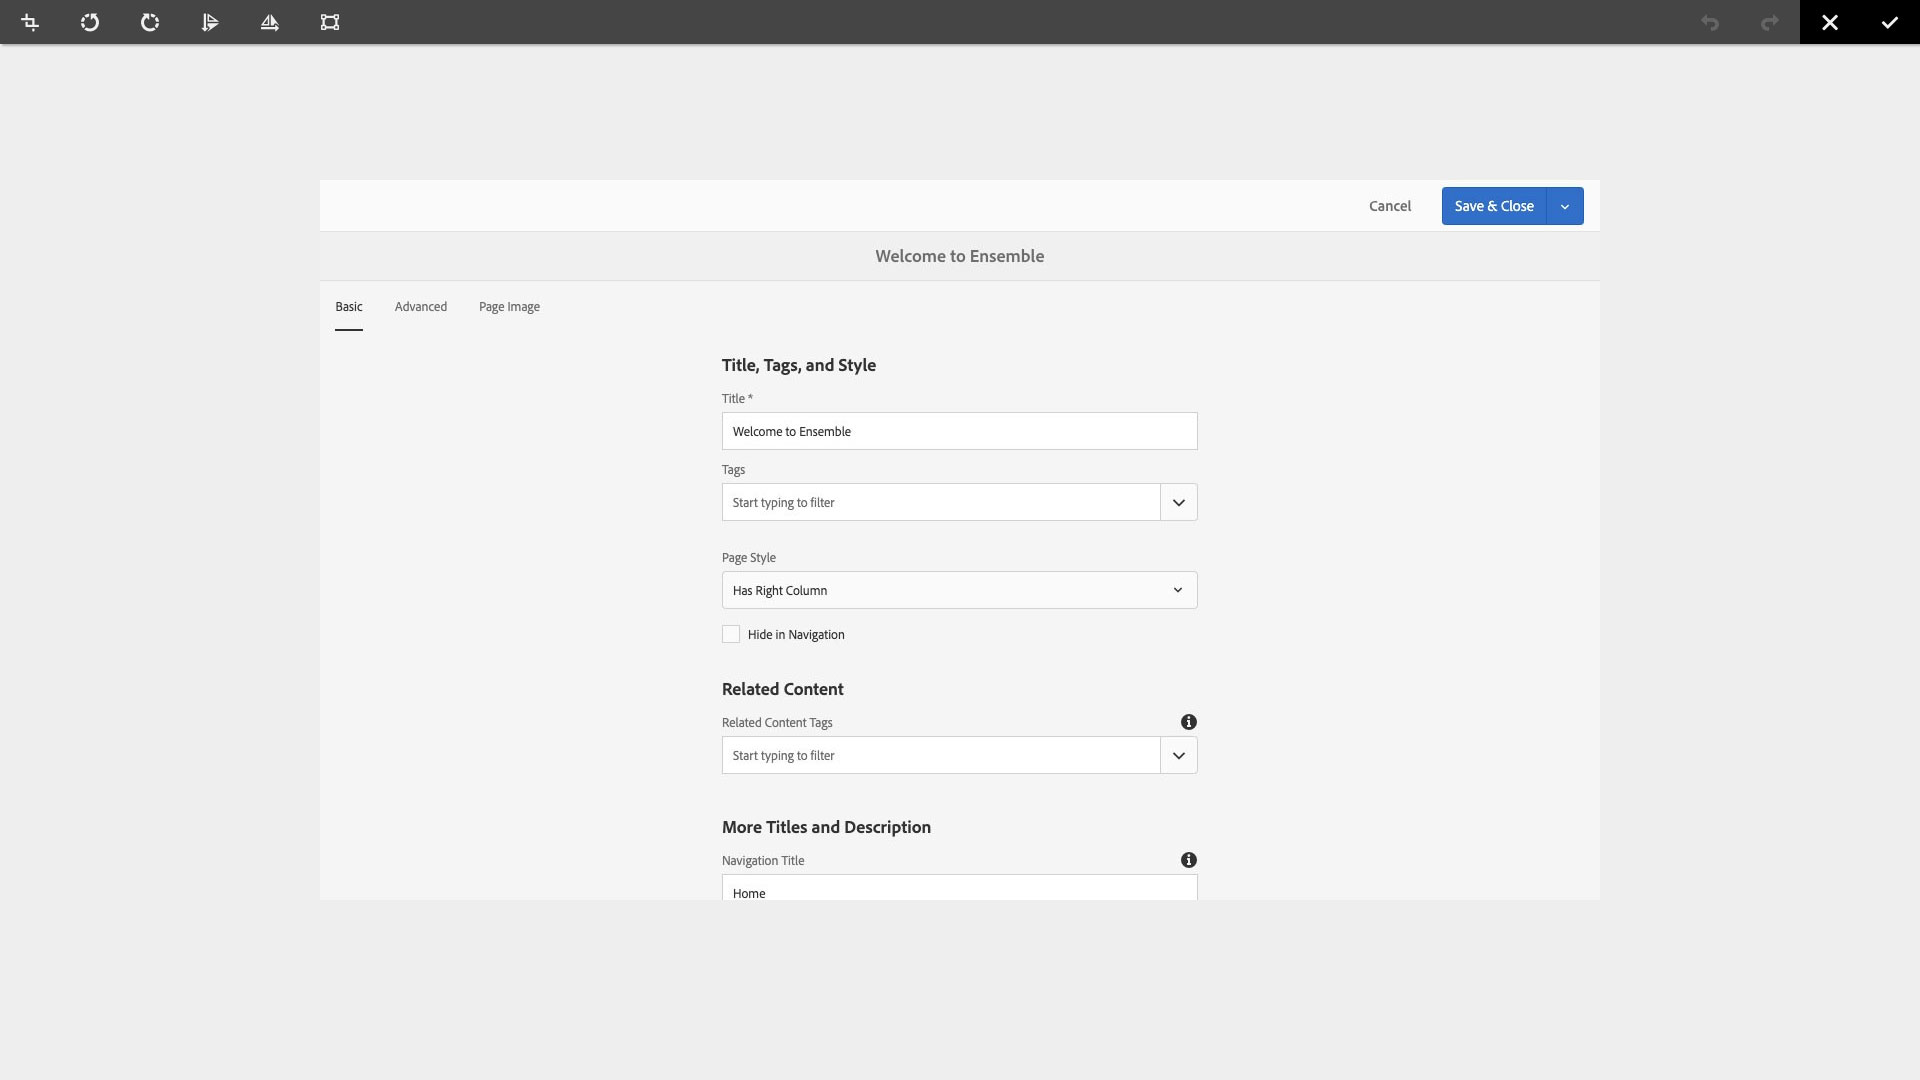
Edit: Basic image asset editing, for rotation, flip horizontal or vertical, crop and scale functions.
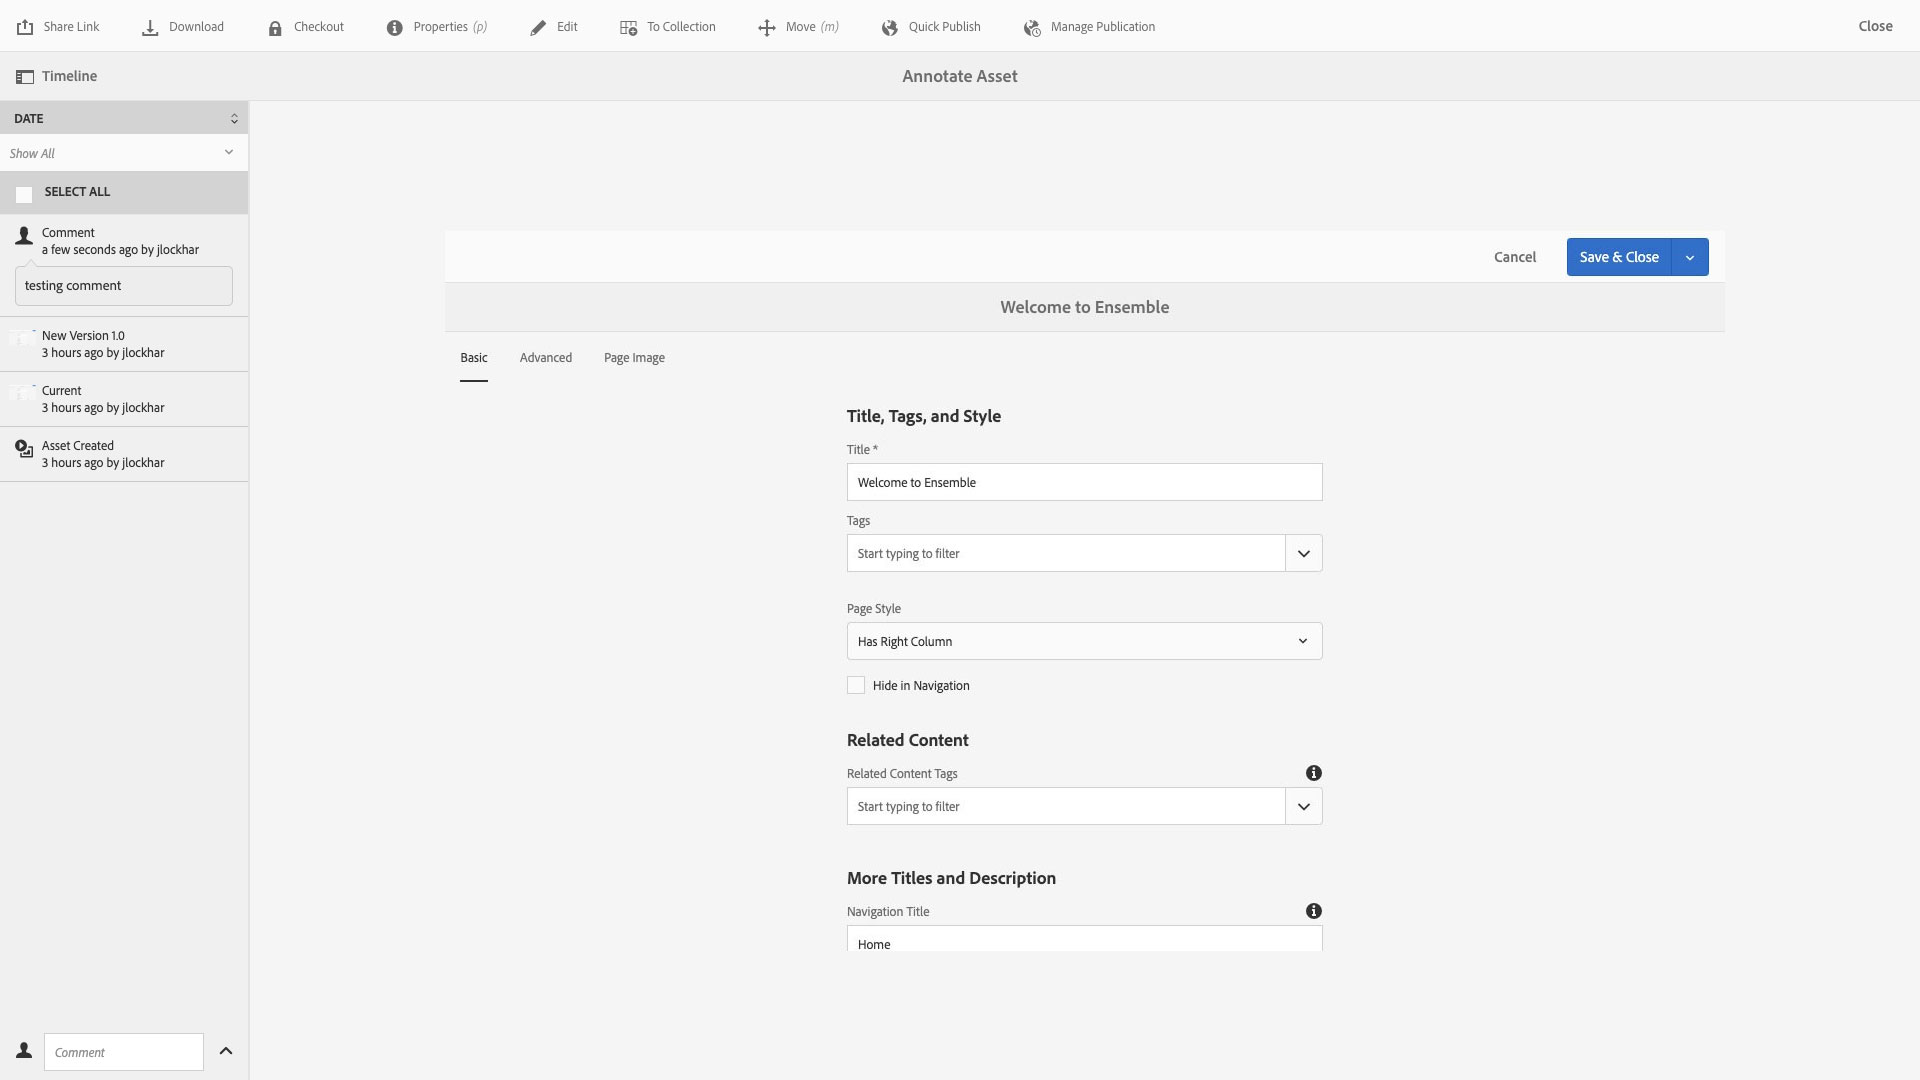
Annotate: Add comments to an asset's timeline.
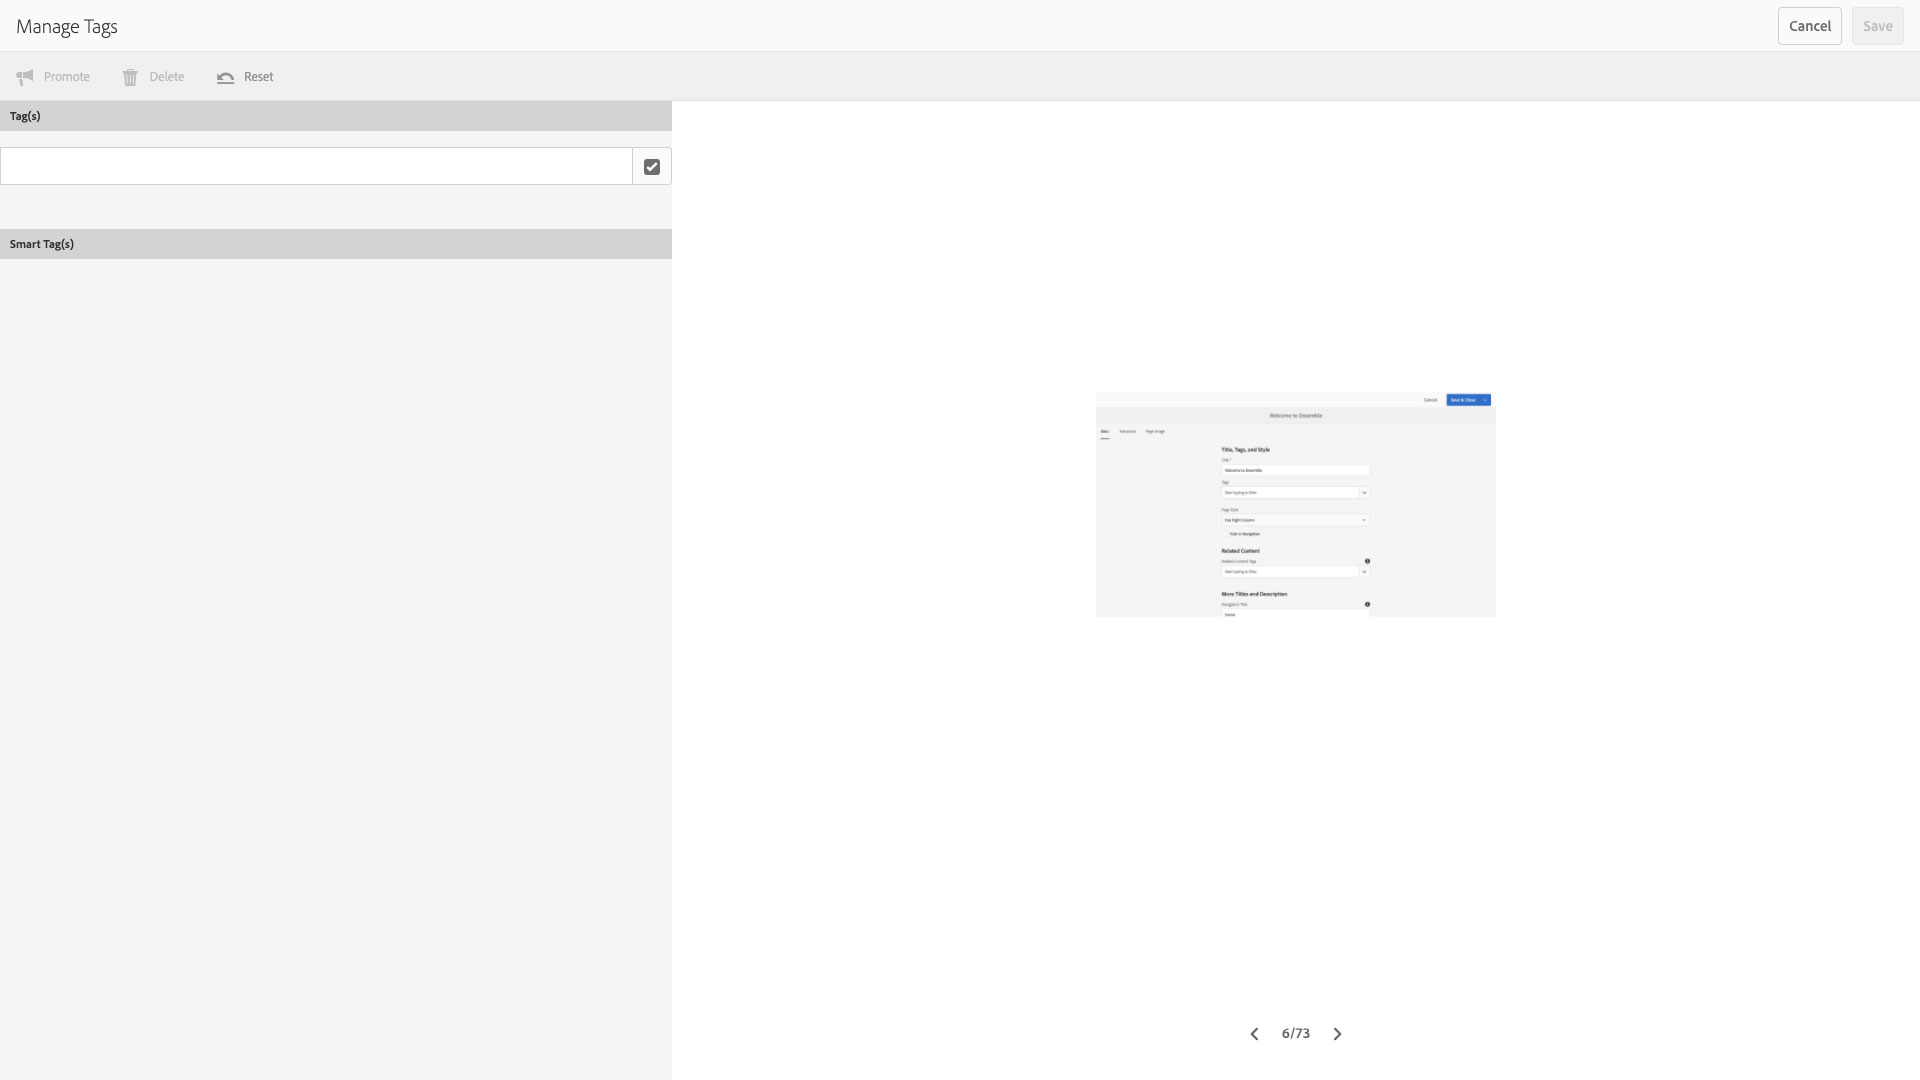
Tag Manager: Add tags to assets.
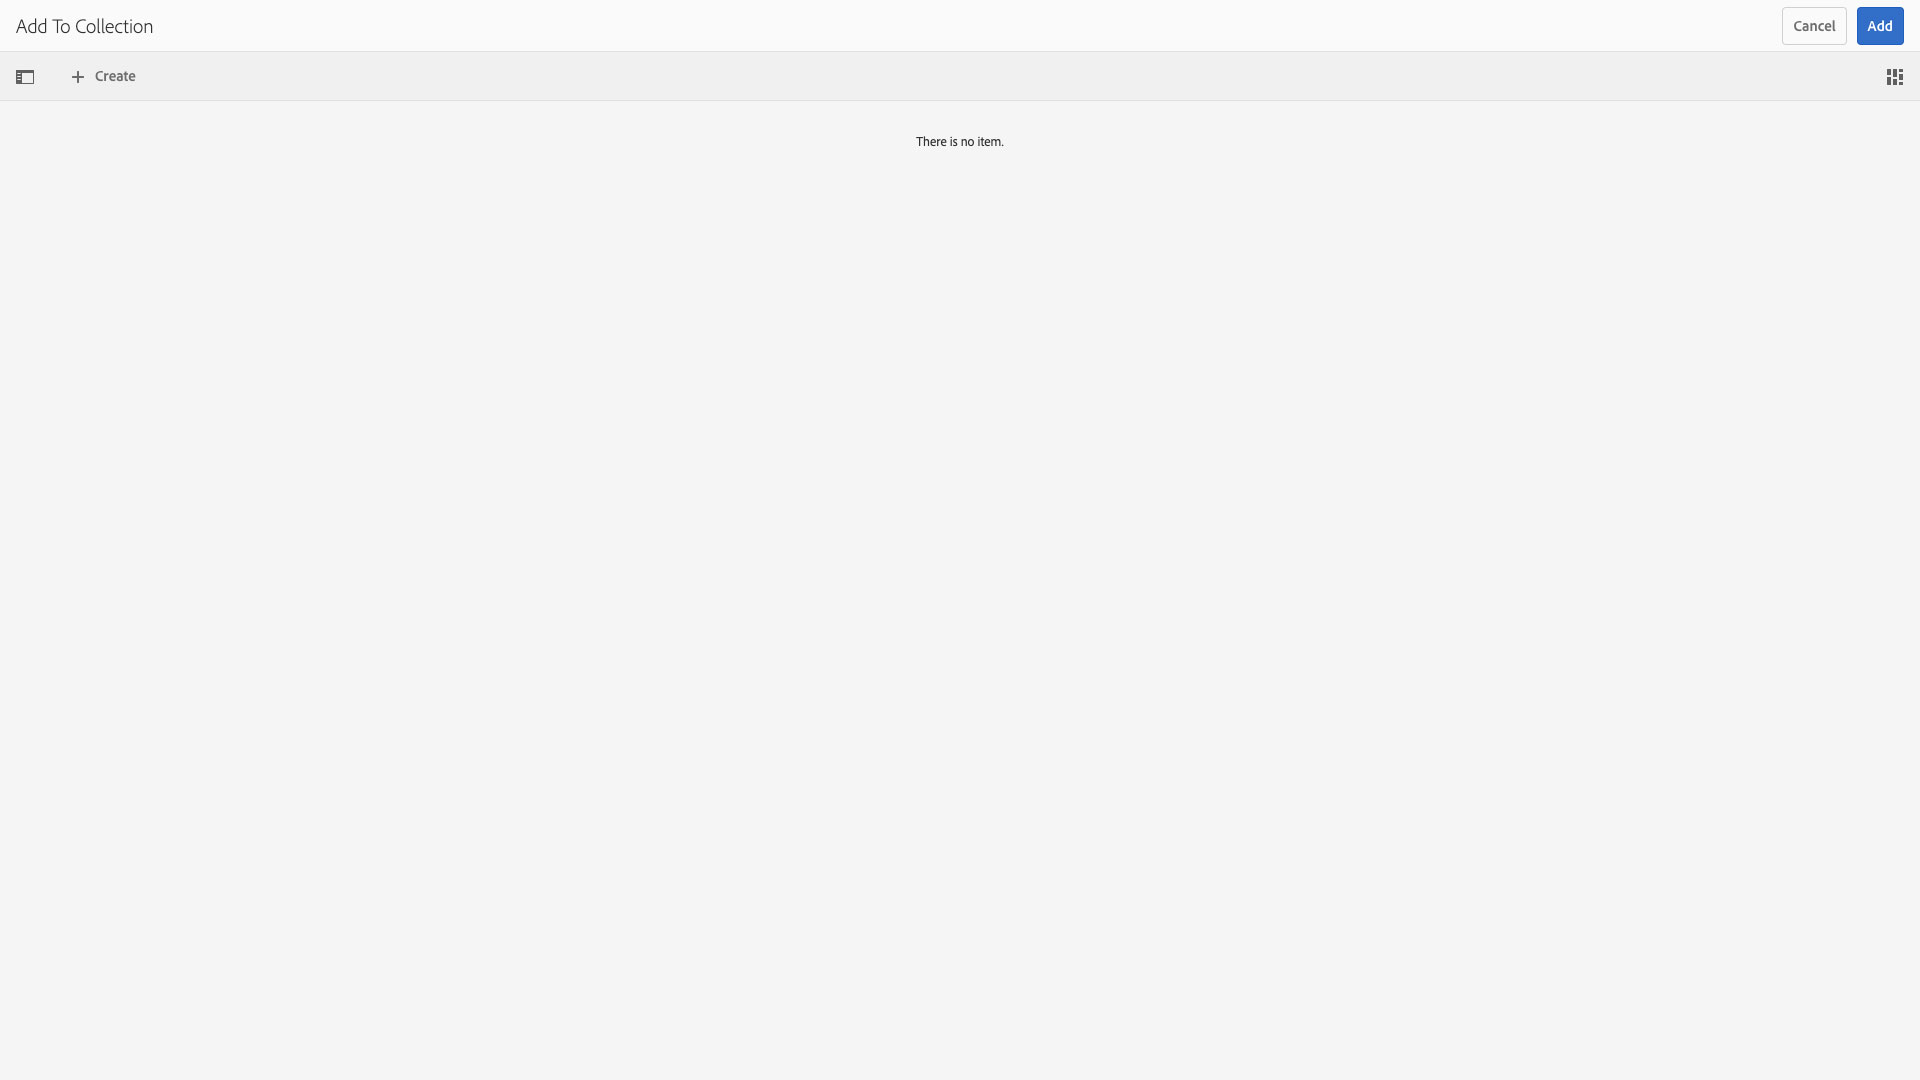
To Collection: Manage collections of assets.
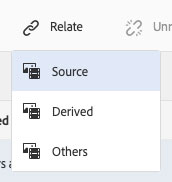
Relate/Unrelate: Used to give relationships to assets.